Finally! It is the word that I have been saying with a smile since we finished our most recent DIY. FINALLY! We have a stairway handrail! Three years after we intended on installing a railing, we finally prioritized it to the top of our list and made it happen. I suppose all of those years of anticipation are contributing to my excitement that it is officially checked off of the list. Finally.

When we first moved into our home 14 years ago, our stairs to the lower level were covered in berber carpet. I remember pulling up that carpet and feeling a super-sized amount of surprise in regards to the amount of dirt and dust and hair that was trapped in the original carpet fibers.
We prepped the bare stair bones for their new life as real wood stairs, and installed beautifully stained treads and white painted risers. We also added a board and batten treatment up the walls to match the new steps.

We had quite a few ideas for the railing, but couldn’t seem to settle on the exact design we were after. Then, we realized that we would be moving sofas from upstairs to downstairs and from downstairs to upstairs and decided it would be OK to wait to install the railing until after all of our furniture moving was done. Then, we sort of just forgot and put it off and realized we weren’t missing what we didn’t have. But hello! That is not OK because homes should have a proper railing installed with their stairs as part of the building code. Shame on us.
So the first order of DIY business on our list this year was to get the railing done! We had a few hurdles, but I am thrilled with the final result.

Here are the supplies we ended up using to achieve the final railing outcome:

- Unfinished Railing: We used a 14’ unfinished oak rail (which matched the original oak treads we installed)
- Railing Brackets: We went with these oil rubbed bronze brackets (which received a gold leaf treatment)
- Corner Braces
- Finishing Nails
- Hammer
- Nail Set
- Miter Box: We used our electric miter saw but the less expensive version should also work just as well
- Drill
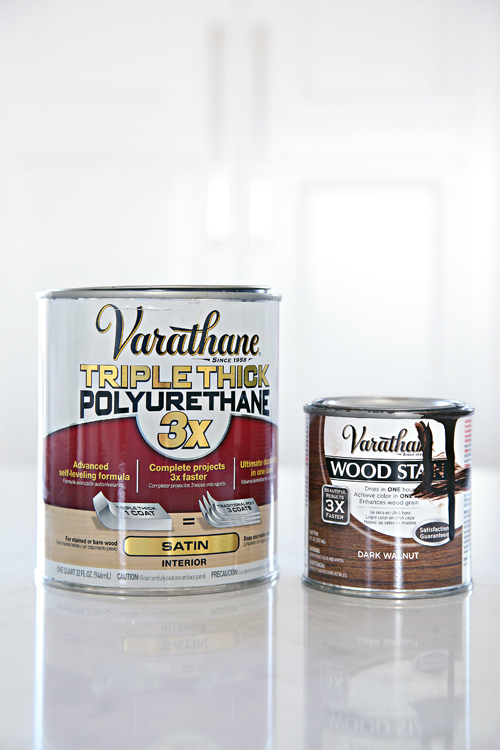
- Stain: We selected Varathane Dark Walnut
- Polyurethane: We selected Varathane Triple Thick
- Paint/Stain Brush
- Stud Finder: Although I already found my stud (sorry, couldn’t resist), we needed to locate studs for the railing hardware
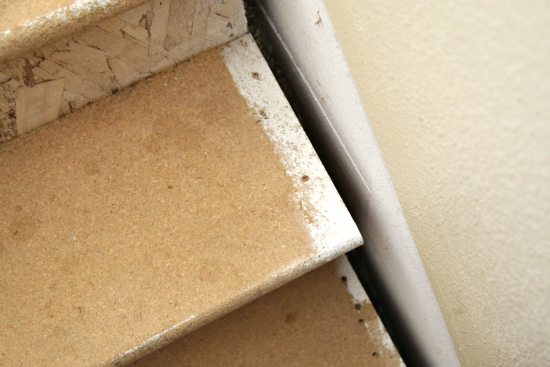
Before I dive into the tutorial for the railing, I thought I would do a little update on how the stairs are holding up. I get asked quite a bit if we are happy with our switch to the real wood stairs, and every single day the answer is a giant YES. We have only had one slip and that was because my husband was just going too fast and slipped on the bottle step. Our dogs haven’t damaged them beyond some barely visible scratches (due to their nails being too long so we do our best to keep them clipped). The only visible damage is from when I dropped our vacuum cleaner down the stairs, that left two small dings. Otherwise, I am so impressed with how nice they still look over three years after their installation.
The moulding and walls on the other hand….

These stairs are extremely hard to photograph with beautifully bright natural light at one end, and an over-sized boob light at the other. But either way, you can see the state of our walls in the photo above. I made the mistake of using a flat paint in our stairway. And because it was a high quality Benjamin Moore paint, I naively thought it would be OK and stand up to our family of five. Wrong. We also had some shifting of our home over the years and some of our board and batten seams began to show. So we patched them but never got around to the sanding and painting portion. Because, you know, “We will get to it when we do the railing”… Sigh.

Never mind that fuzz on the bottom step… It’s a daily battle. And although I can see dust and dirt on the stairs each day, I would rather spend 60 seconds per day with a hand vac on hard stairs than vacuuming and not knowing what is stuck in the carpeted stairs. Another reason the real wood version gets my vote.
So, before we could get started with any railing install, it was my job to prep the stairway by sanding down the moulding and giving it a fresh coat of white paint. This time I went with Benjamin Moore’s Simply White to match all of the white woodwork in our upper level.

I used a brush for the trim and corners and a small microfiber roller for all of the larger flat surfaces.

I also repainted the entire stairway wall area with a fresh coat of Benjamin Moore’s Quiet Moments, this time in an eggshell finish. The paint expert assured me this would be a much more family friendly/washable option.
I mentioned that we had a few hurdles with this project. Without getting into too much detail in fear that this post is already going to be lengthy, here is the gist. I had picked out some really beautiful railing brackets and ordered enough for our project. Once they arrived, I consulted with our local building inspector to be sure they were OK for our railing project. Thumbs up. But then I found it impossible to find a wooden railing that could fit through the bracket. I searched everywhere from local hardware stores to special order lumber companies and no one seemed to have the exact size and length we needed. So we went back to the drawing board. We looked at a variety of alternative options, and finally decided on a simple and sleek stained rail. After we agreed on the type/style of railing, we set out to purchase our supplies. I picked up mounting brackets in three different finishes because I wanted to hold them up at home before making my final selection. We brought our handrail to my in-laws home because we didn’t have the heated garage that they had during our very cold weather days. We did a lot of back and forth over the course of a week to apply the coats of stain and poly, but I am super thankful they let us use their space or else this project may never have gotten done!
To stain the railing we set up a workspace on a long work table over a drop-cloth and some boards.

The railing took two coats of Varathane’s Dark Walnut wood stain. Below you can see the difference just a single coat made.

The dark walnut stain gave us an exact match to our stained wood stair treads. Once the railing stain had dried for a few days, we followed it up with a single coat of Varathane’s Triple Thick Poly.

Because we were working with 14’ of railing, it was helpful to do this as a team of two. One of us helped hold and flip the railing while the other stained and applied the poly. It was also helpful to have one stain and another follow behind with the cloth to wipe it dry.
When it came to the mounting bracket finish, we selected from brass, silver and oil rubbed bronze versions. We didn’t love any of them, so we decided to do a brushed/aged brass look with the help of Gold Leaf Rub ‘n Buff. This fit more with some of the other finishes in our home, including the set of hooks installed at the top of the stairs.

I will say, this did not apply well to the silver bracket (lesson learned), but worked great on the oil rubbed bronze version. I also ended up doing 2-3 coats on the brackets to achieve the final brilliant finish I was after.

Now that we had the railing picked out and stained, and the hardware finish selected and treated, it was time to finally install the railing!
We needed 13 feet of railing from the top stair to the bottom stair, so we went with a stock 14 foot rail. The extra foot allowed us just enough to cut a 45 degree miter and do a return at each end.

After measuring and cutting our railing and returns, the next step was to install the bracket hardware. To ensure the railing is as secure as possible, we used a stud finder to locate and mark each stud with a pencil.

We started with the stud closest to the center of the stairway and marked the placement of the rail brackets onto our white trim, working our way out to each end. Typically there should be about four feet between each installed railing bracket, but you can add extras at the beginning and end for aesthetics if preferred. We also made sure the height was up to our code, which may vary from area to area but is generally between 32" and 38" up from the stair. We were able to mount the bracket center of our white wainscoting moulding, but if we didn’t have the angled moulding as our guide, we would have snapped a chalk line.

We pre-drilled and then screwed in each railing bracket. The single screw was a nice installation feature that allowed the angle of the hardware to quickly adjust to the angle of the railing.

Again, it is nice to have two people at this point in the game, one to hold the rail while the other pre-drills and screws in from below.


To return the end of the railing back to the wall for a nice and built-in finished look, we started out with some corner braces that we installed on the bottom side of the railing (these can’t be seen).

We also reinforced the return with a finishing nail on each end, which was then punched in with the nail setting tool.

And after all of the painting and staining and poly'ing and installing…. we finally had ourselves a stairway railing!

Paired with lovely new white moulding and risers!

And the view from the top:


You have also officially seen our fifty shades of Quiet Moments. I am thinking of turning it into a film…

I love that this project not only has created a safer home for us and our guests, but the new paint really freshened everything back up; the entire area feels so bright and new! The boys have already tested the strength of the railing, our youngest still believes he is part monkey after all. And that railing didn’t budge, and I don’t think it will for many, many years to come.
So YAY! A project that took us far too long to finish is finally a wrap. And so is this post! What’s the longest a project has been on your home “to do” list?
from IHeart Organizing http://www.iheartorganizing.com/2016/02/do-it-yourself-stairway-handrail.html
No comments:
Post a Comment