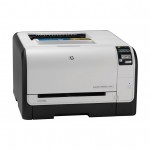
While we wait on a few deliveries for our laundry room and boy’s den, I thought I would continue to work on the functionality of my office. When I last shared the space, I chatted a bit about needing to complete our printer cart project. Quite a few months ago I picked up a STUVA frame from IKEA, as well as two accompanying shelves, and the printer has just been tucked inside since. The cords needed wrangling and it wasn’t the easiest to access for paper or ink changes; but that is no longer the case! Some things really do make a huge difference in your day-to-day life, and because I spend so much time at my desk, this project was one of those things!

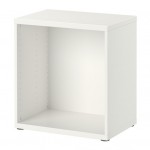
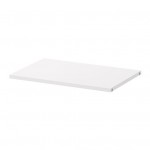
Unfortunately, I purchased the box to the cart so long ago; I can no longer find it online. It was an item that IKEA carried for quite a few years, so I am not sure why I am unable to source the exact cabinet with the correct depth, but for reference it is from the STUVA line and is 19 ¼" deep by 23 5/8" wide by 25 ¼" tall. I have also used IKEA’s BESTA cabinets and I believe they would also be a viable option for this type of setup. When I purchased the box unit, I also picked up two correlating shelves. And then things short of just sat for a bit (as seen in the last post)…

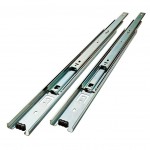
The box was assembled per IKEA directions and was a great size for fitting under my desk, it even left a little wiggle room above and below for moulding. The printer fit the cabinet great as well, however, there were times when it was difficult to access. I knew it would be much easier to utilize with the help of a pull out shelf. There were a variety of drawer slide options at Home Depot, however, I wanted something that could manage the weight of my large printer. I selected these heavy duty Liberty rails in the 18" length, and I also appreciated that they offer a full extension slide.
We began by attaching the glides to the inside of the cabinet with some simple screws, right at the bottom edge.
We then measured the total width of the glides and cut down one of the shelves to fit between them. Although I didn’t photograph that step, we do recommend using a painter’s tape to tape off your cut line and to prevent any fraying of the wood finish.

To attach the rail to the shelf, Bryan used the hardware to mark the appropriate location on the shelf edge and then pre-drilled holes along each side.


The next step was to attach the rails to the shelf with some wood screws; we went with a longer screw to ensure the shelf would be sturdy and strong when paired with the glides.

Then we just snapped the pull out shelf into place!

To help with the cord management, we used a hole saw bit to create an opening for printer and scanner cords in the back of the cabinet.


The weight of the printer was no problem for the new heavy duty pull out shelf!

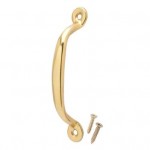
I did quickly realize that the weight of the printer did make it a bit challenging for me to quickly and easily pull the printer shelf out, especially while sitting in my chair.
Because the front of the shelf doesn’t have an open back to affix hardware the way a typical drawer would, I had to find a front mounting drawer pull. There were a variety of options online, but I found this one for under $3 locally and it worked just as well!

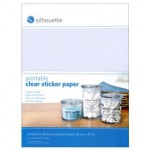
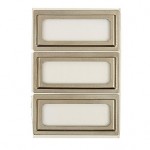
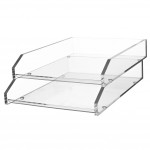
I have two types of paper that I print on frequently; a regular bright white paper and a cardstock weighted paper. To differentiate the two, I created some simple labels that I printed on clear sticker paper to affix to the stacking paper trays (font style Bromello).


At this point, I thought we were done, until I took a step back. I was not very happy with how my eye went straight for the gaps between the floor and the underside of the desk.

We are super fans of the crystal white foam moulding sold at Home Depot, and have used it throughout our entire lower level. It is all on mega sale right now (which makes me worried they will be clearancing it out), and I purchased a piece for the floor of the cabinet for around $1. It is easily cut with a simple miter box and I affixed it with a brad nailer at the base. I also attached some door/window casing at the top of the cabinet.

Moulding is always and instant game changer in any project, and this was no exception. Prior to adding the moulding to the top, we wedged a piece of wood between the printer cart and the top of the desk to provide additional support above.

The moulding gave the cart a polished “built-in” look and feel, without actually being built-in at all.

I contemplated having the upper shelf be a pull-out option as well, but for the added expense of the glide in comparison to the frequency I use my scanner, I didn’t feel like it was necessary for now. The cool thing is that I can always easily change that down the road should I ever feel differently.

There was a lack of color in this little area (and we all know how I feel about that), so I lined the front of a clear magazine file with some leftover gift wrap and tucked my paint decks inside.

Steps like this make the office feel more legit and complete, and also increase the overall functionality. I am getting closer and closer to adding some decorative touches and then calling this space finito!


For easier reference, below you can find a quick round-up of the products used in this post:
 |
 |
 |
 |
 |
 |
 |
 |
* affiliate links used
from IHeart Organizing http://www.iheartorganizing.com/2016/07/ikea-stuva-printer-cart-hack.html
No comments:
Post a Comment