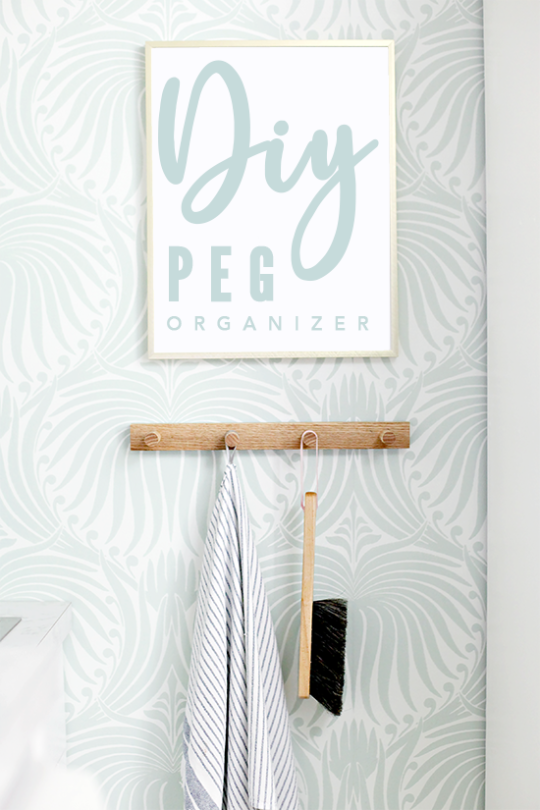
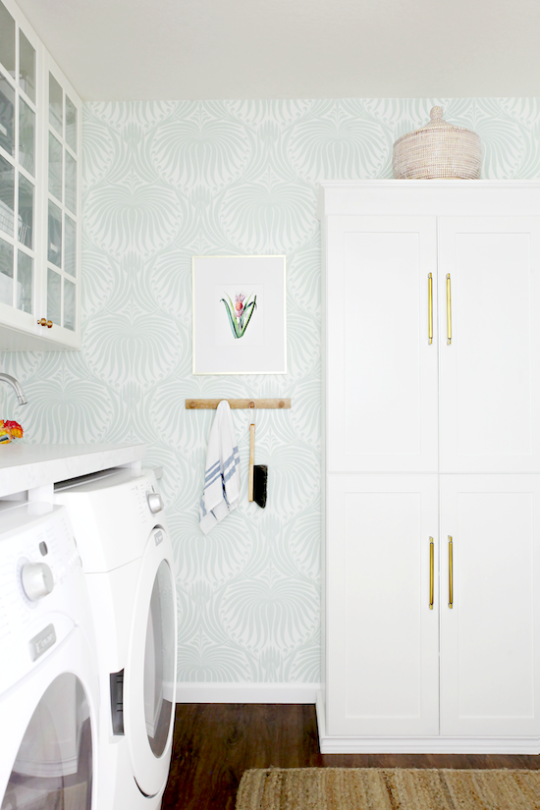
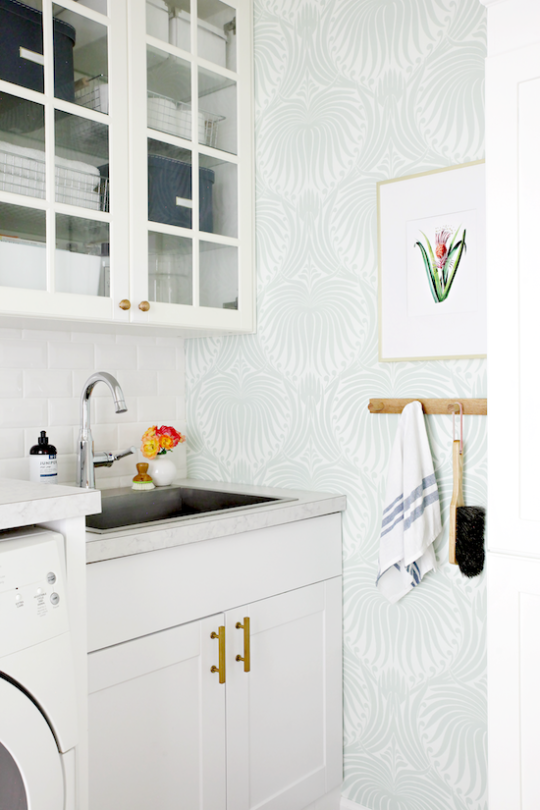
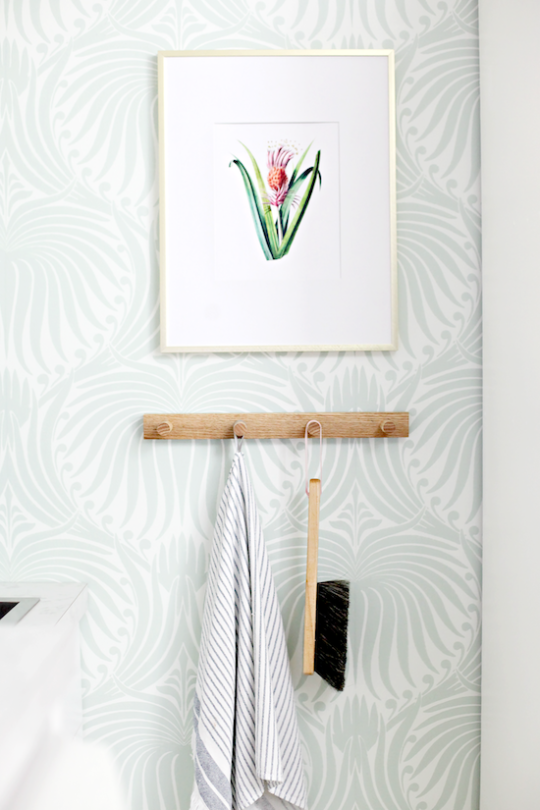
The rail of hooks that we recently added to our laundry room was one of our easiest DIYs yet. And at the same time, it is one of my most favorite! I absolutely love how charming it is and I sort of want to make a few more varieties for our bathrooms and garage.
These wooden peg rails are popping up all over in stores at a variety of prices. Some less expensive than others, but none as inexpensive as the one we were able to make ourselves. Plus, isn’t it always the greatest when you can customize it to fit your space in size and color? Yes and yes.
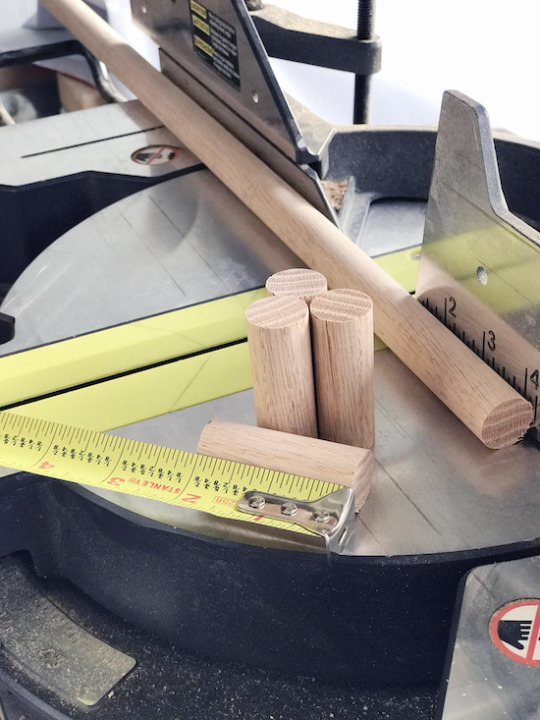
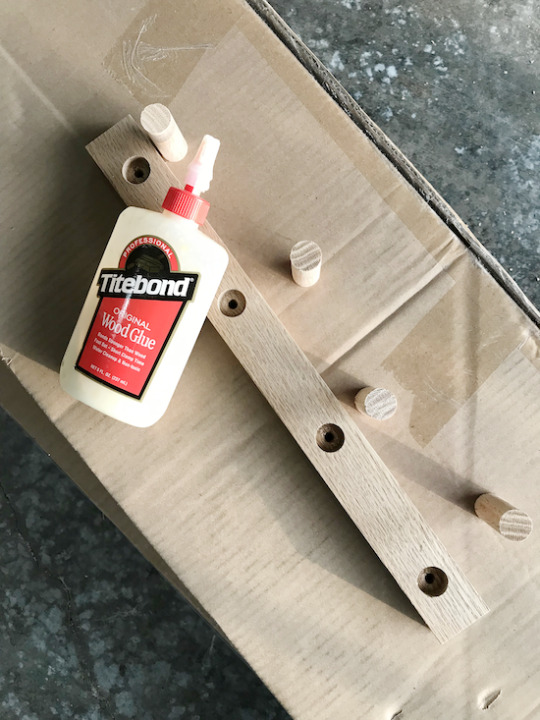
To get started, I ran to Home Depot to pick up a 1" x 2" oak wood board, which I purchased by the linear foot (2 feet @ $0.81/foot). I also found an oak dowel to coordinate, and decided to go with the ¾" diameter. The best part about this project is that you can determine the length and number of pegs that you would like select your sizes accordingly.
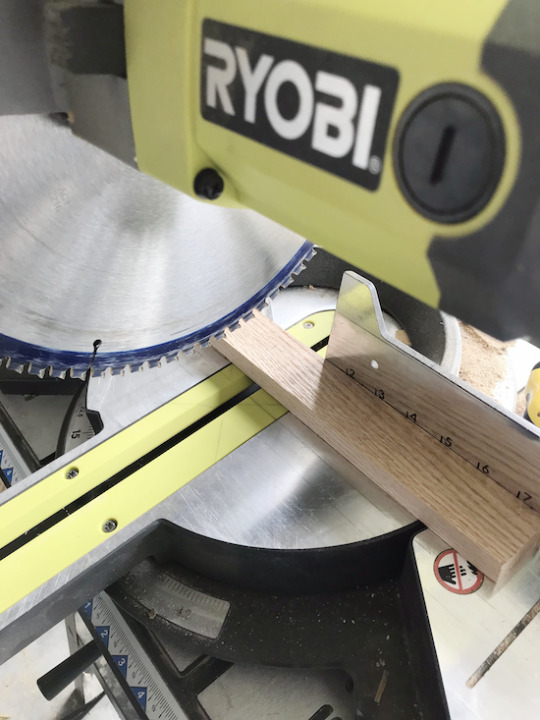
The only tools that we used to assemble the rail of pegs is our miter saw (you could also use a simple miter box), and our drill with a ¾" spade bit and a bottle of wood glue.
Step one is to measure the desired length and cut the 1" x 2" board to size. I only had a small spot to fill and planned to use the rail to hold hand towels and small cleaning supplies, so I decided on 16" in length.
I then decided that I wanted the rail to have a total of four peg hooks, so we cut a portion of the dowel into four, two-inch pieces.
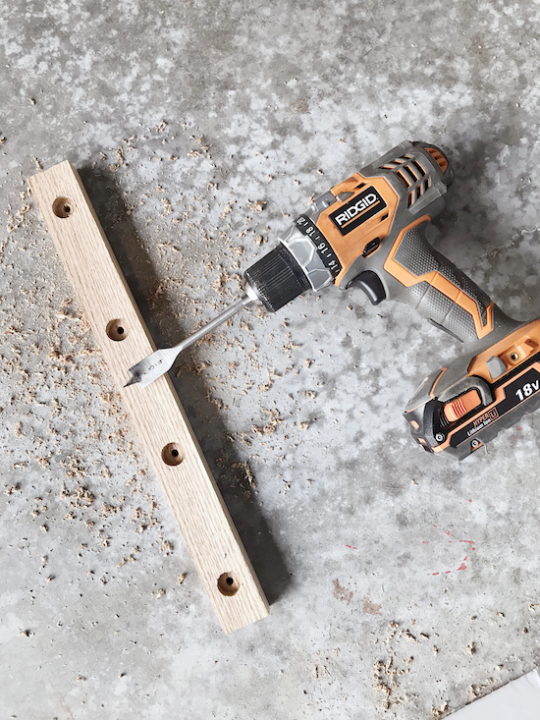
To inset the pegs we used the ¾" spade bit and our drill.
To determine the spacing on the rail, I decided on how much space I wanted on each end and marked accordingly. Then, I measured the distance between the two endpoints and divided by three to be sure the spacing was balanced. I also wanted the pegs completely center on the rail.
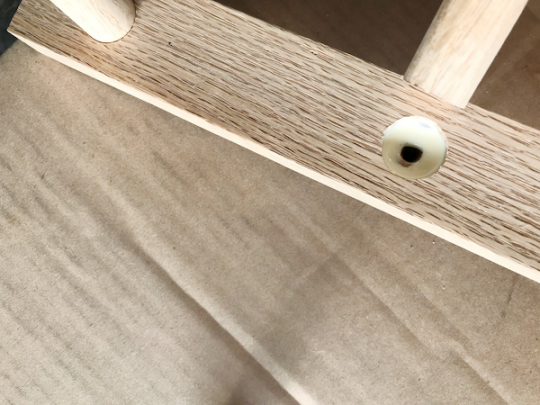
The final step in assembling was to use wood glue and insert the pegs.
Quick Tip: Pay attention to the wood grain on the end of the peg during this process. I didn’t and later noticed that the grain on each peg was going in a slightly different direction. I will call it charming character, but if those things bother you, this is the time to take notice.
You could add weight to the top of the pegs while the glue sets and dries, but we didn’t and just let everything cure overnight. The pegs are extremely secure and feel fairly strong for holding anything from cleaning tools to towels to wet clothing or a jacket.
To install the rail of hooks I used two large picture hanging Command Strips that hold up to 16 pounds of weight (which is plenty for how we are using the organizer). You could also drill through the rail and affix it to the wall with screws.
Prior to installing I also quickly stained the rail in a natural finish to match the other wood tones throughout the room. It could also be painted or waxed, whatever you wish!
This was definitely the easiest DIY in the space, and maybe even the most darling.
I still owe you the DIY cabinet door tutorial which I am putting together soon. You can also catch up on all of the other laundry room DIY’s below:
DIY Wall Storage
DIY Shiplap and Sorting Baskets
Lowering the Laundry Hookups and Installing the Folding Counter
Installing a Drop-in Sink
DIY Decorative Sink Toe-Kick
DIY Floating Wood Shelf
Tile Backsplash Installation
Organizing Under the Laundry Room Sink
from IHeart Organizing http://www.iheartorganizing.com/2019/11/diy-wood-peg-rail-organizer.html


No comments:
Post a Comment